Kick and Snare Levels in a Rap Beat: 8 Listening Checks
How loud should kicks and snares be in my rap beat? Compare bass, vocals, peaks, and monitoring without chasing one universal dB target.

Your kick peaks lower than someone else's screenshot, so you turn it up. Now the bass disappears. You raise the bass, and the whole loop starts hitting the output ceiling. The snare still feels strangely small. Copying the numbers has changed the level without solving the relationship.
The useful answer to how loud should kicks and snares be in my rap beat depends on the actual sounds, the bass, the vocal, and where you are measuring. Start with a listening comparison you can repeat. Use meters to understand the signal, not to substitute one universal target for that comparison.
This guide concerns a rough mix, not a mastering specification. It assumes you can adjust the individual drum tracks. If you only have a stereo beat file, you cannot independently turn down its snare with a normal track fader; request stems or work within that limitation.
1. Say which number you are looking at
A fader position is a gain setting. A peak meter describes a signal level at a particular point. Those are different measurements. Two samples at the same fader position can produce different peaks because the files, instruments, and processing feeding the fader are different.
Likewise, equal peaks do not guarantee equal apparent loudness. A short sharp hit and a longer dense sound can reach the same maximum while occupying the mix very differently. Duration, frequency content, repetition, and surrounding sounds all affect what you hear.
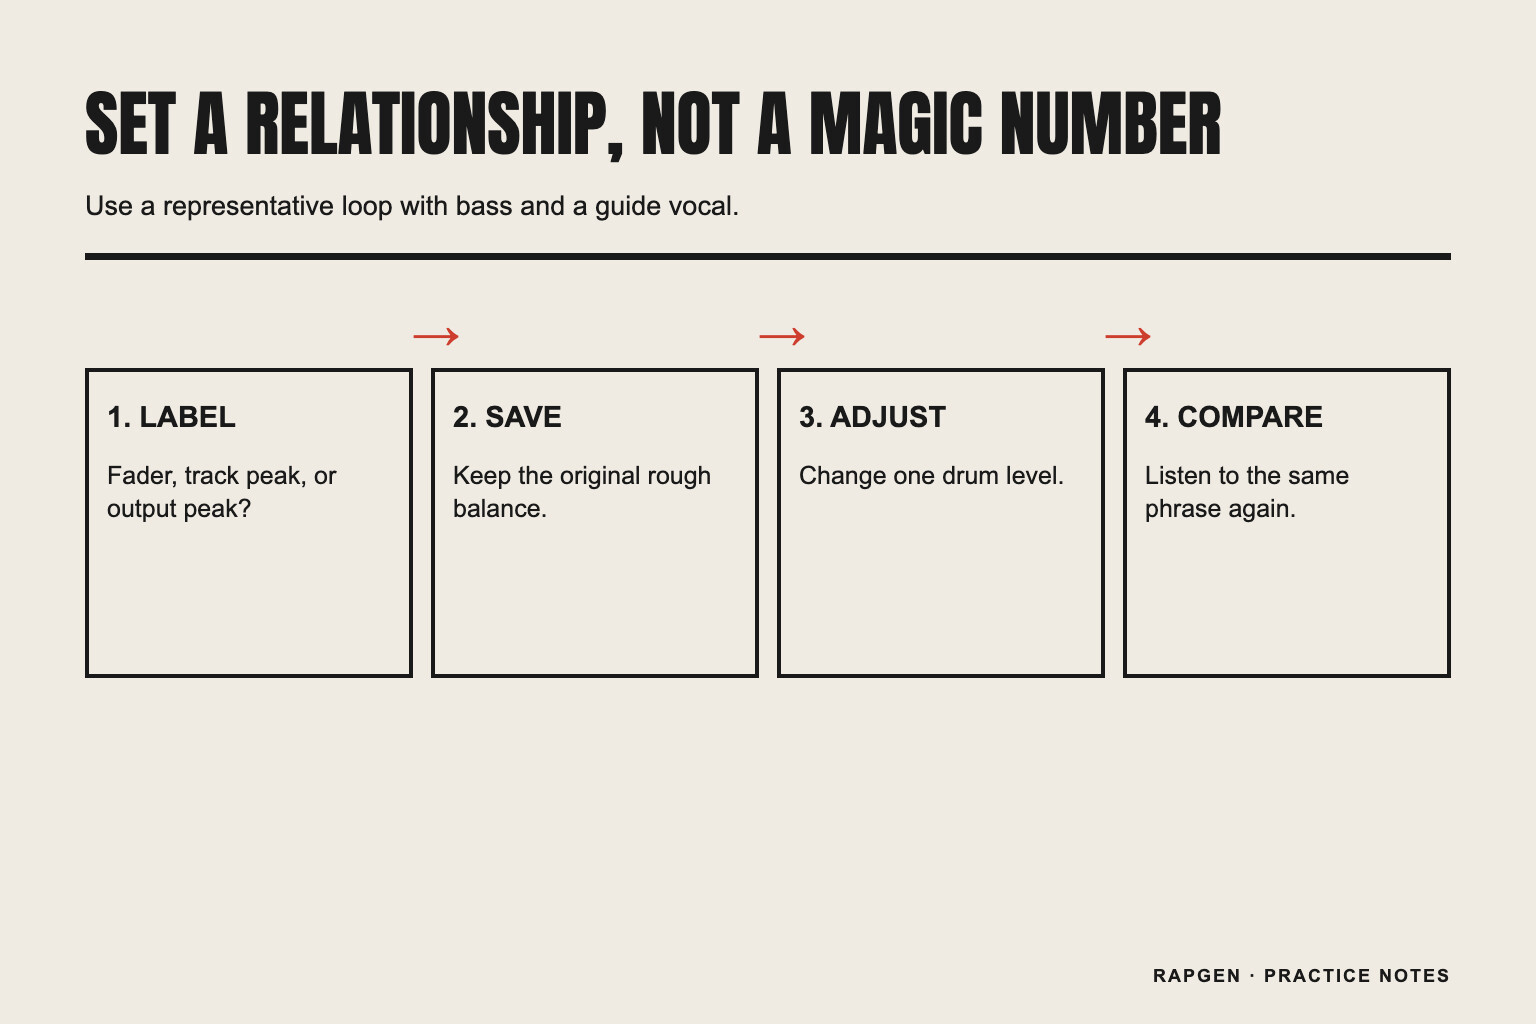
Make a measurement label
Write “kick track output peak,” “snare fader,” or “main output peak” beside a number in your session notes. A bare “minus eight” does not tell a collaborator what to reproduce. Include whether the track is soloed and whether the master processing is active.
Ableton's mixer documentation distinguishes peak readings from RMS readings and explains that its meters change what they show while monitoring. The broader lesson for this exercise is to check your own application's meter behavior before comparing numbers from different points in the signal path.
2. Build a short comparison loop
Choose a section containing the kick, snare, bass, and a representative vocal phrase. Include a normal hit and the busiest moment you expect the balance to survive. An empty instrumental intro cannot reveal whether your main snare masks words in the verse.
Keep the loop short enough that you remember what you just heard. Four or eight bars often gives you a practical test segment, though a longer phrase may need more space. Use the same segment for the first round of adjustments.
Freeze unrelated choices
Save the project, note the current levels, and leave the sample selection and drum pattern alone for this pass. If you replace the kick, add compression, rewrite the bass, and raise the snare at the same time, you will not know which change helped.
Choose a comfortable playback level and leave the monitor control steady while comparing versions. If you make one version much louder at the speakers, the difference can distract from the balance you intended to judge. Take a brief pause when repeated listening stops producing specific observations.
3. Set the kick against the bass, not in isolation
Soloing the kick can help you hear a click, an unwanted tail, or a distorted sample. Its final level still has to work alongside the bass. Bring the bass back before deciding how much kick the song needs.
Start from your saved rough balance. Lower the kick until its rhythmic contribution becomes too weak for your intention, then bring it up gradually. You are looking for a usable range, not a magic point. Note where the low end begins to feel dominated by every kick hit.
Test the tail as well as the attack
If the initial hit is clear but the low end stays crowded, the problem may be the kick's length or its overlap with the bass rather than insufficient peak level. Compare a shorter tail or a different note arrangement in a separate saved test. Do not assume a louder fader can resolve every overlap.
When two sounds appear to weaken each other, timing, polarity, and frequency overlap are possible factors, not diagnoses you can make from the fader numbers alone. Test one change and listen in context. Keep the original available so an apparent improvement is easy to reverse.
Avoid processing the bass merely because an online recipe says to do so. Your loop may already leave room through its note placement. The smallest useful intervention could be lowering one long bass note or moving a kick that competes with a vocal pickup.
4. Set the snare against the words
Bring in a guide vocal, even if it is a rough recording. Focus on a phrase whose important consonants land near the snare. Listen once for the words, once for the backbeat, and once for the whole phrase without deliberately attending to either.
Raise or lower the snare in small steps around the current setting. A one-decibel change is a reasonable comparison step, not a required final adjustment. Stop when you can describe what changed: clearer words, weaker backbeat, sharper attack, or a tail that occupies too much space.
Separate prominence from harshness
A snare can feel abrasive without being the loudest element. Turning it down may help, but the sample's tone, layered sounds, and effects may also be responsible. Save a level-only version before trying tonal changes so you can hear whether additional processing was necessary.
If a clap is layered with the snare, listen to the combination as one backbeat before adjusting either part alone. The layer can change the apparent length and brightness. The snare's individual meter no longer describes the entire event you are judging.
Try the snare slightly quieter for the verse and restore its saved level in the hook. This is a test of section balance, not a rule that choruses need louder drums. Keep the change only if it supports the transition and remains convincing in the full song.
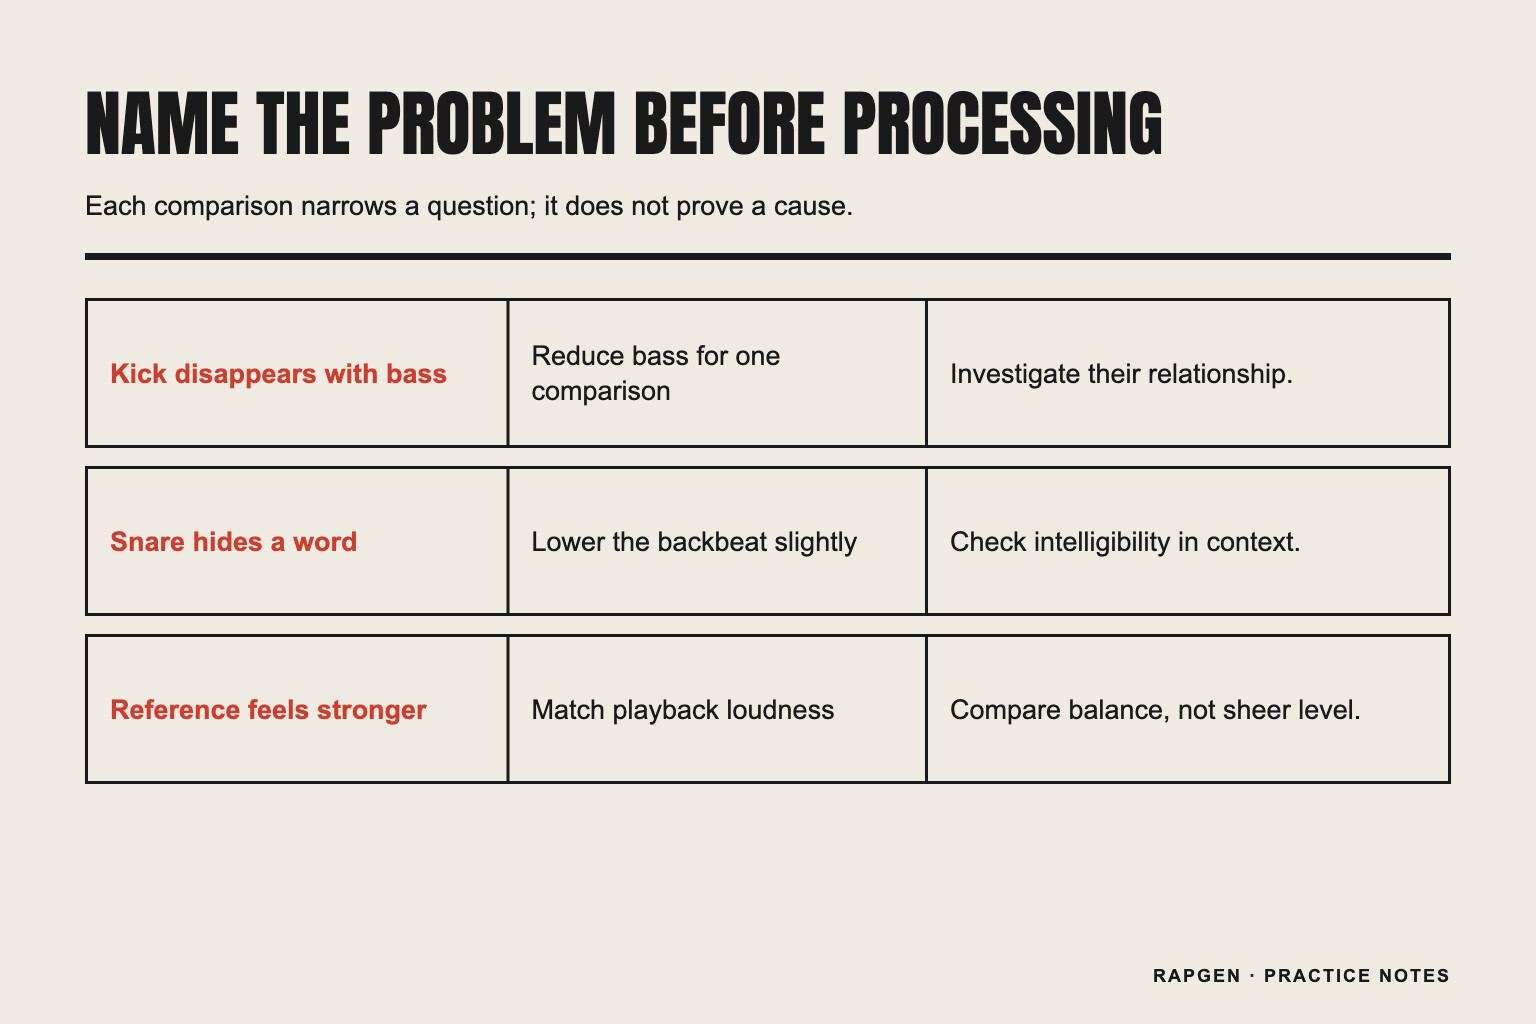
5. Use a symptom table before adding processing
Write the problem in observable terms. “The drums are bad” cannot tell you where to act. “I lose the last word whenever the snare lands” gives you a place, a sound, and a repeatable listening task.
| Observation | First comparison | What the result can tell you |
|---|---|---|
| Kick is clear alone but vanishes with bass | Compare the same passage with bass reduced | Whether the relationship deserves closer work |
| Snare hides a repeated word ending | Lower the backbeat slightly with the vocal playing | Whether level alone improves intelligibility |
| Every drum hit makes the entire mix pump | Compare a safely level-matched version without the suspected bus processor | Whether that processor contributes to the movement |
| Beat feels weak only against a louder reference | Match playback loudness approximately before judging | Whether loudness was steering the comparison |
| Hook balance works but verse feels crowded | Compare section-specific levels or fewer layers | Whether one global setting is too restrictive |
These tests narrow a question; they do not automatically prove a cause. Lowering the bass changes more than masking, for example, because it also changes the overall balance. Treat the result as a direction for the next controlled test rather than a completed technical diagnosis.
6. Leave output room while you compare
Watch the main output as you bring the full arrangement back. A balance that fits comfortably with four tracks can run out of output room when doubles, effects, and extra instruments enter. Check the loudest section rather than only the loop that made the drums sound flattering.
If the signal exceeds the available output ceiling, reduce levels at an appropriate point and inspect the routing. Turning down the final output does not undo distortion already created earlier by a plugin or a recorded clipped source. Find where the unwanted distortion begins.
Keep balance work separate from a loudness contest
Do not keep raising the kick because the reference master is louder overall. First compare at similar perceived playback loudness. Then ask about the relative roles of kick, snare, bass, and voice. A quiet but well-balanced rough mix is still useful evidence for this stage.
There is no universal requirement in this exercise that every kick peak at one specific value. Your recording format, processing, export settings, and delivery requirements matter. Follow the requirements for your eventual handoff rather than treating a suggested rough-mix number as a release standard.
7. Check more than one listening condition
After the balance works in your main setup, play the same export on another available system at a comfortable level. A small speaker may reveal the kick's upper attack while reproducing little of its deepest bass. That difference is useful, but it does not mean the entire mix should be redesigned around that speaker alone.
Compare a quiet playback pass, a normal pass, and, if available, headphones. Keep notes tied to conditions: “words disappear on the small speaker in bar three” is more actionable than “snare wrong.” Avoid repeatedly increasing volume to recover detail that your arrangement is covering.
Listen to the whole track once
A good eight-bar balance can still fail across a full song. A snare that feels exciting for one loop may become tiring after repeated returns. A kick that works under a sparse verse may lose its role when the hook adds a low synth part.
Mark those sections and return to them individually. You may need automation or an arrangement change rather than a compromise that makes every section slightly worse. Keep the overall song's movement in mind when deciding whether a local problem deserves a local solution.
8. Save an A/B decision instead of a mysterious final file
Export version A with the original balance and version B with the selected change. Use names such as “verse-snare-down-one” rather than “final-good.” Keep the export settings the same and compare the same portion without compensating with your monitor knob.
For a concrete trial, lower the snare track by one decibel and leave the other track faders unchanged. That label describes a relative gain change; it does not predict the resulting peak of the whole mix. If the change helps the words but weakens the hook, test an adjustment limited to the verse.
Write a keep-or-reject note
Record “keep: last word clearer, backbeat still stable” or “reject: words unchanged, groove loses its accent.” You now have a decision based on a specific effect. Keep the rejected file until the next session so you can confirm the preference with fresh attention.
Before calling the balance finished, check that the guide vocal has not been mistaken for the final take, that no track is accidentally soloed, and that your exported file matches the version you reviewed. These small session mistakes can invalidate an otherwise careful comparison.
Three things you can stop worrying about
A copied fader position. It depends on the signal entering that control and the processing around it. Use your own saved version as the reference for a relative change.
A kick peak from another project. It says little about the bass relationship, duration, or vocal in yours. Label the measurement before comparing it.
A master loudness target used during arrangement work. A delivery target belongs to a particular release workflow. It does not tell you whether a snare is obscuring the line you want the listener to hear.
Add a temporary voice before finalizing the drums
If the beat has no lyric yet, use the rap bars generator for a few lines on your subject, then record yourself saying them over the test loop. Keep the guide uncomplicated and place important words near the backbeat so you have a concrete listening check.
Generated text is only raw material here. It cannot hear the kick, inspect your routing, or judge the snare's tone. Once your actual verse is recorded, repeat the balance pass with that performance; a different voice and delivery can change what needs room.
The short version
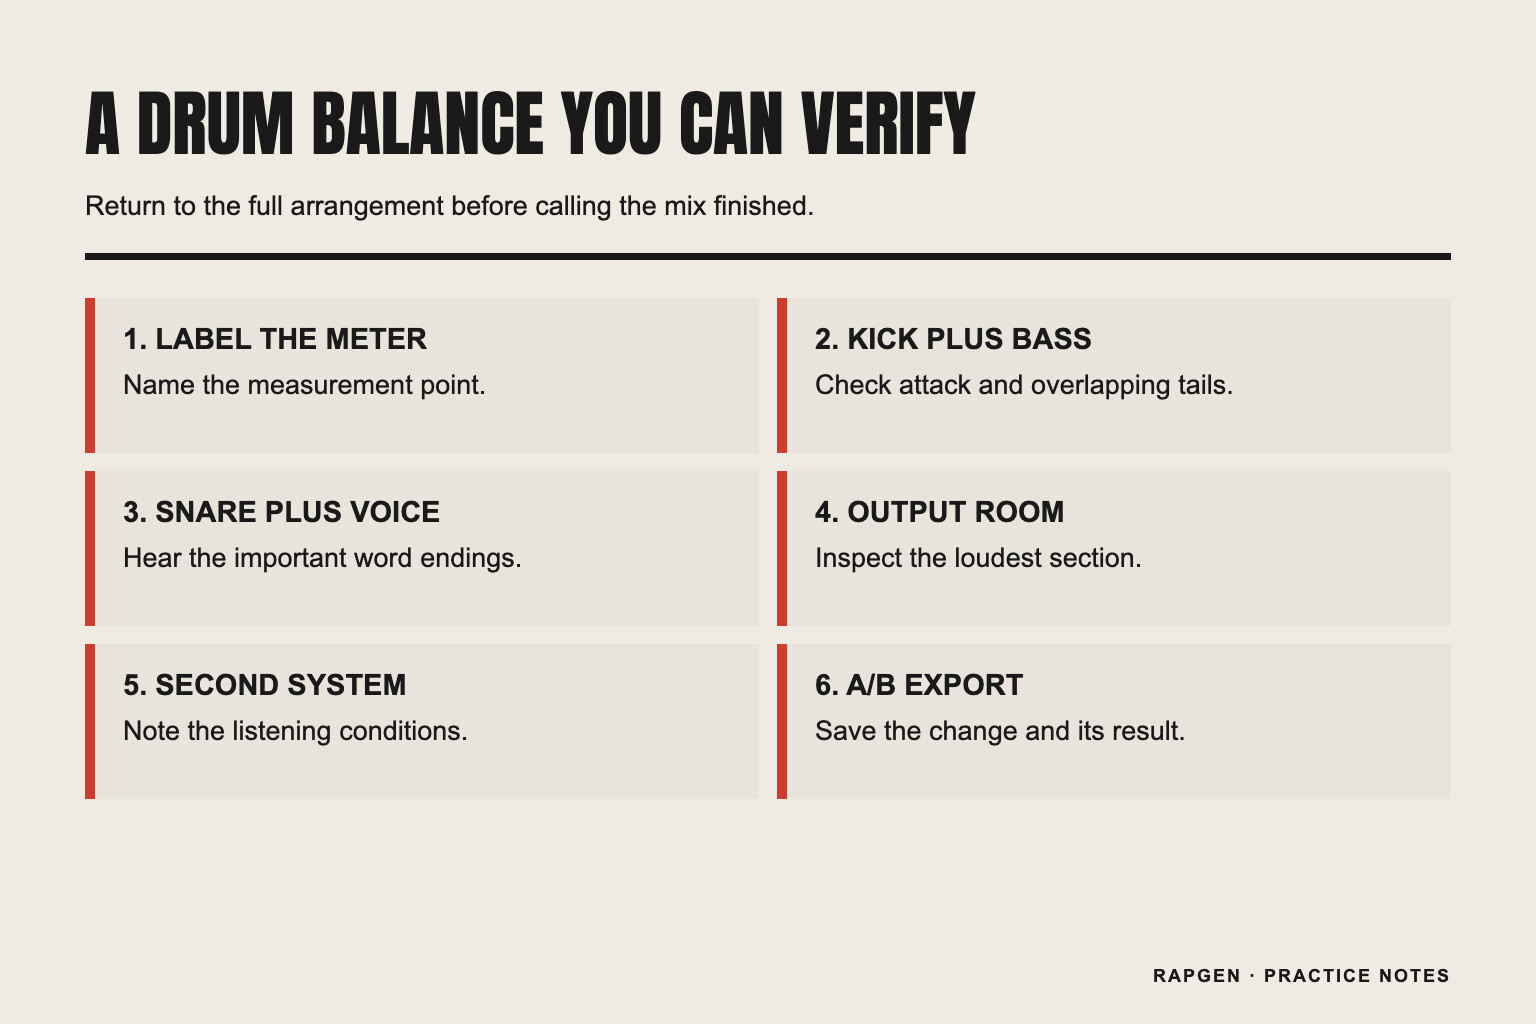
For how loud should kicks and snares be in my rap beat, label the measurement, use a representative loop, balance kick with bass and snare with words, preserve output room, and compare saved versions. Keep the setting that supports the song under repeatable listening conditions.
Keep reading
- How long a rap beat takes to make for defining the deliverable before extending the session.
- Southern rap BPM guide for distinguishing project tempo from a slower felt pulse.
- How to improve rap flow for adjusting the voice that has to coexist with your drums.